
Creating Wifi Hotspots in Linux
Suppose you have a laptop and a phone and you want to share your laptop’s internet connection with phone, also known as Reverse Tethering . Well it’s as easy as going to Network connection and creating a wireless connection, you might say. Unfortunately it’s not, because hotspot created by our laptops generally supports only two modes Ad-Hoc and Infrastructure, which can be seen here.
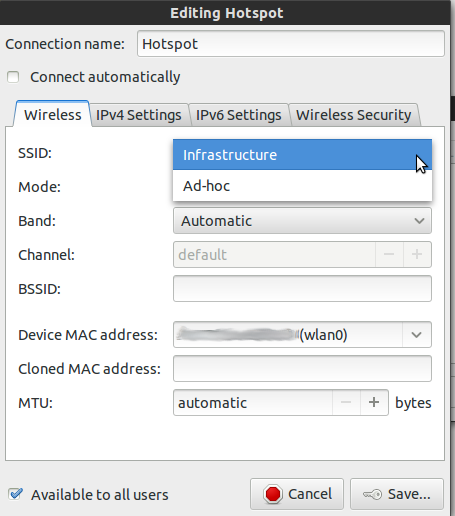
and none of them are supported by most of the Android and Windows phone out there in the market. In this learn we will learn to create a Android friendly, or in general Phone friendly Hotspot, for this guide I’ll be using Ubuntu 12.04 LTS .
#Installation
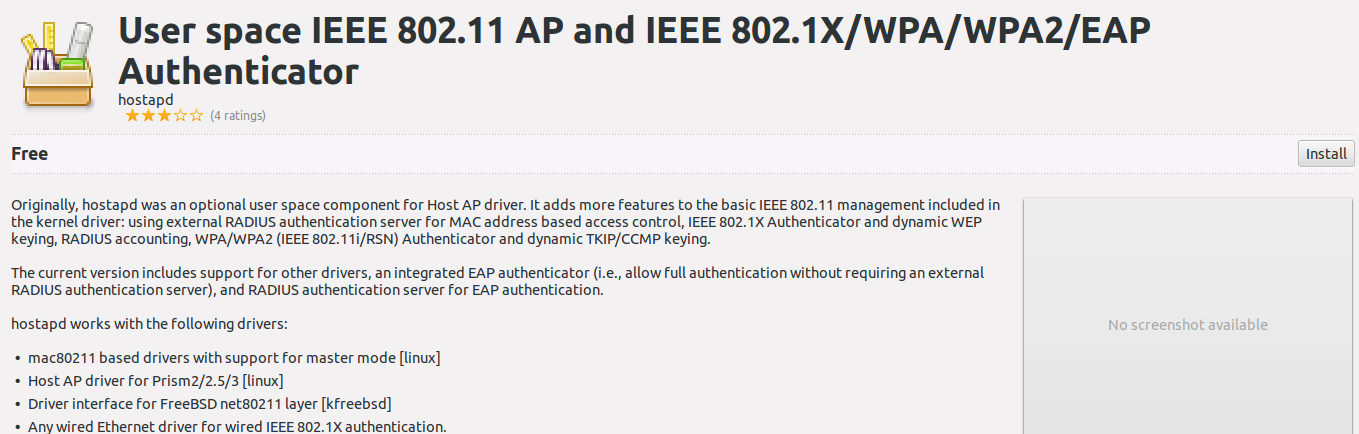
To solve this problem, we will first install Hostapd Search for hostapd in Ubuntu software center and click install.
If command line is your way to go , just type the command
sudo apt-get install hostapdYou can also download and compile Hostapd from source, from it’s site http://w1.fi/hostapd/. For other distributions search for the package named hostapd in your repo’s. As explained on http://acx100.erley.org/git.html. Hostpad has following level in managing wifi and each level is expalined as follows

Wireless Card: Should be self explanatory… handles sending/receiving wireless packets
Linux Kernel: The linux kernel contains the driver for the wireless card, and the nl80211 subsystem, which handles configuring the wireless interfaces for user space
libnl: libnl is the transport layer used to communicate with the kernel via netlink
udev: udev is the facility the kernel uses to pass events/calls to crda
iw: iw is a userspace utility that we can use to test that libnl is working correctly, as well as create additional virtual wireless interfaces on the wireless card
crda: crda is a userspace program that the kernel queries (through udev) to find what channels/frequencies are usable, and at what powers. This moves the information out of static tables maintained in kernel to userspace, which allows them to be updated without reloading drivers/rebooting
Wireless Regulatory Database: Database of allowable frequencies and transmit power levels used by crda
hostapd: This is the daemon that handles generation of beacons and other wireless packets, as well as wpa-psk, wpa2, etc encryptions.”
#Checking your Wifi Card
Hostapd supports following drivers:<ul>
</ul>
Now let’s check whether your wifi card is supported by hostapd . Most commonly used wifi cards are supported in hostapd, but just to be sure we could check . First, check which kernel driver is used for your card, type the following command
lspci -k | grep -A 3 -i "network"and you will see something like this

Network controller: Ralink corp. RT3290 Wireless 802.11n 1T/1R PCIe
	Subsystem: Hewlett-Packard Company Device 18ec
	Kernel driver in use: rt2800pci
	Kernel modules: rt2800pci
So, my driver used by kernel is rt2800pci , will vary depending your kernel and wifi card. Now, let’s check the interface part which will tell us whether our card is supported or not. Now type the following command, replacing driver with your appropriate one, which in my case is rt2800pci . Type the following command.
modinfo rt2800pci | grep ‘depends’replacing driver with your appropriate one, which in my case is rt2800pci. The output is like this
 it will vary depending on your wifi card. In my case, it is
depends: rt2x00lib,rt2800lib,rt2x00pci,compat,eeprom_93cx6Check each interface with the compatibility list either by checking if your interface satisfies one of the condition required by hostapd or by googling with keyword “interface_name hostapd”, you might get some clue , if one or more interface matches with list needed by Hostapd, you are good to go. Otherwise, cross your fingers and give it a try by configuring it as explained next.
Configuration
Now, let’s create a configuration file named test.conf, with your favourite text editor in your home directory. Lines starting with # are just comments to explain the configuration,you can skip them while writing the configuration file.
# sets the wifi interface to use, is wlan0 in most case
interface=wlan0
# driver to use, nl80211 works in most cases
driver=nl80211
# Choose suitable name for SSID, or simply the name of your wifi as visible on list of networks
ssid=Put_your_desried_name_here
# sets the mode of wifi, depends upon the device used, can be a,b,g,n.  g ensures backward #compatibility.
hw_mode=g
# sets the channel for your wifi , 11 will work fine for most of the people
channel=11
#####Sets WPA and WPA2 authentication , they are stronger than WEP#####
#wpa option sets which wpa implementation to use
#1 - wpa only
#2 - wpa2 only
#3 - both
wpa=3
# sets password for the access point, choose a strong one :)
wpa_passphrase=Put_here_your_desired_password
# sets wpa key management
wpa_key_mgmt=WPA-PSK
#sets encryption used
wpa_pairwise=TKIP CCMP
# Rekeys after 10 minutes,if there is interference, the wifi connection between AP and laptop will #break. For CCMP, during rekeying, there is a break of approximately 10 seconds which may #be the time for random key generation and reconnection.
#If you face any error you can skip the last option, but will work in most cases flawlessly
wpa_ptk_rekey=600
# For more options refer to manual pages or Hostapd Website http://w1.fi/hostapd/
Testing
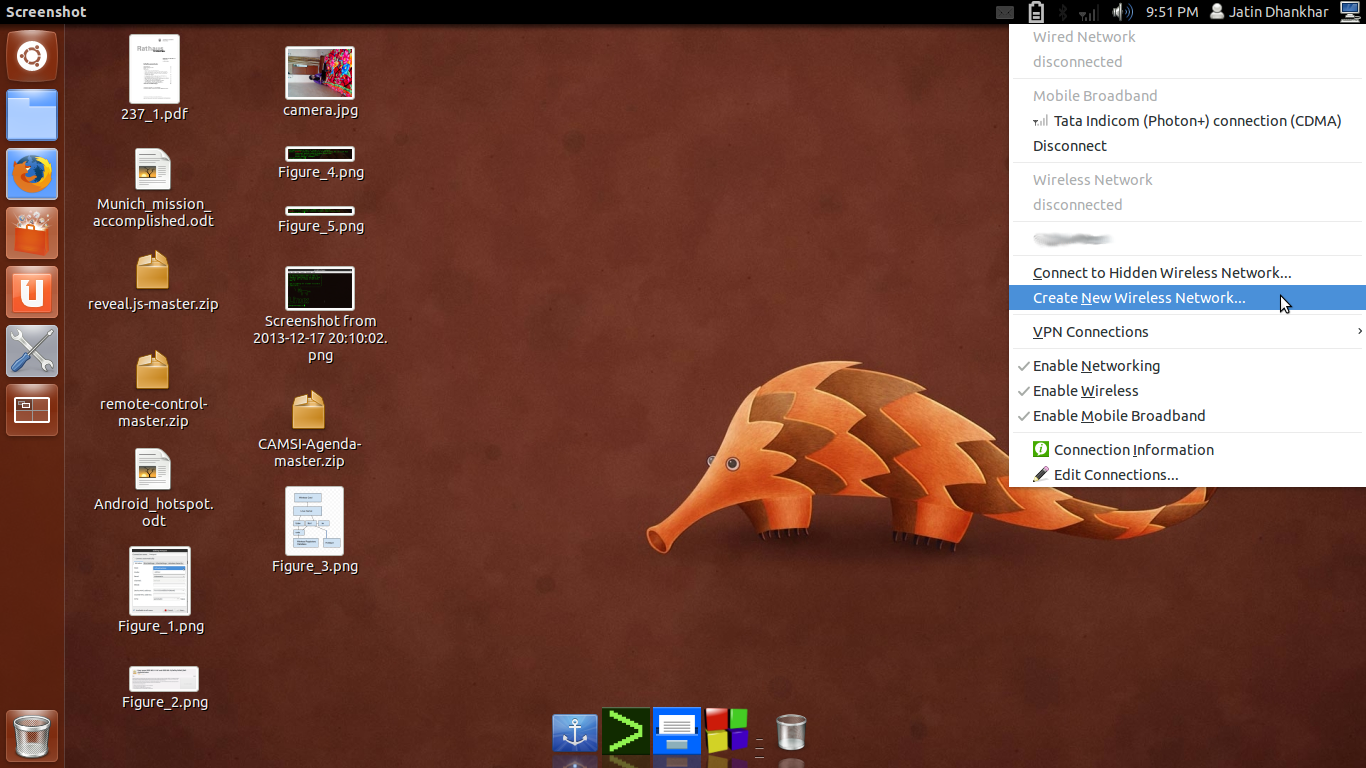
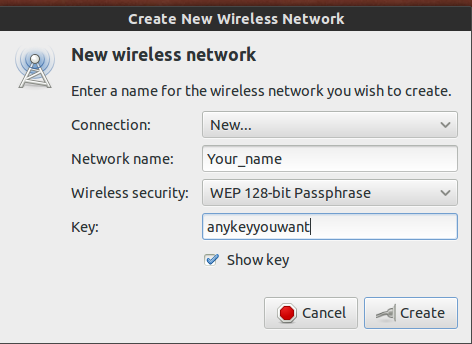
Now, we are all almost done.But first we need to create some arrangements, but doing it command line way, would be long, so easy one would be just create a Normal Ad-Hoc wifi hotspot, SSID not mandatory to be same as for Hostapd. Creating a AD-Hoc hotspot is as easy as going to Network Connections, then creating a New Wireless Connection as shown here
Choose SSID and key of your type, choose any Security, because it doesn’t matter, as this will be overridden by WPA security of Hostapd :)
In my case, it is named as Hotspot , and after you get notification of successful connection establishment, fire up terminal and type the Command:
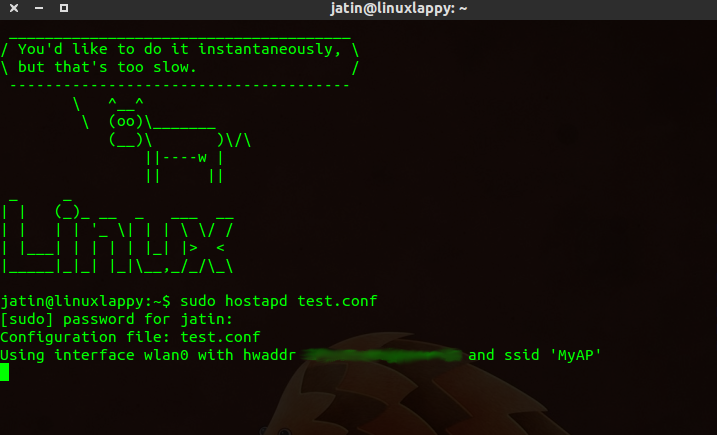
sudo hostapd test.conf This command will invoke Hostapd with options specified by configuration file named test.conf (which we created earlier) and will make a Hotspot on the interface specified wlan0 and MAC address of your Wifi Card, as shown here
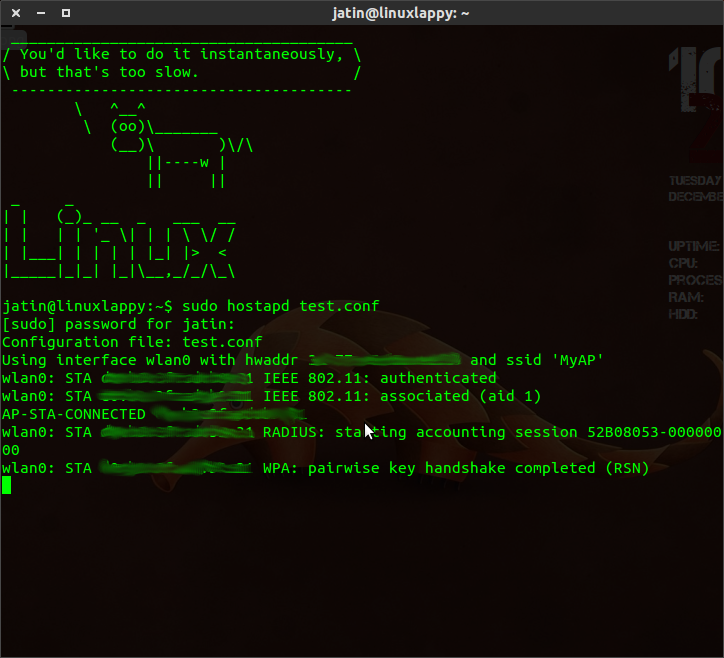
 Now, try to connect your phone by specifying the necessary arguments, as soon as your phone tries to connect you will see your device’s MAC address along with status, it would be something like this
Note
Users have to first create a AD-Hoc Network, before issuing the Hostapd command Run Hostapd command with sudo or with root priveliges . It would also help you to track who is connected to your network, you can also setup MAC address filtering in it by just adding a line
#macaddr_acl sets options for mac address filtering. 0 means "accept unless in deny list"
macaddr_acl=0
This post was published in March 2014 edition of Open Source For You magazine
#References and Further Readings
- http://acx100.erley.org/git.html--- For Explaination of Hostapd position in managing wifi and explaination of each component in the level.
- http://nims11.wordpress.com/2012/04/27/hostapd-the-linux-way-to-create-virtual-wifi-access-point/ --- For Explaining the rest of the process
- http://w1.fi/hostapd/
- https://bugs.archlinux.org/task/27406 --- For explaination of error associated with wpa_ptk_rekey=600
Comments