
Getting Started with Netlify
Getting online is crucial in this ever evolving and changing world. Many people consider access to internet as a basic human right. Then getting online is one step forward towards this new world. Now that obligatory introduction is over, we can talk business now ![]() . Many people have a website of their own and if you are a developer you may have dozens of them which may include personal projects, websites for clients and open source projects. Having a dedicated page helps segregating and managing projects easier. Netlify provides premium hosting for static sites. Let’s take a look at netlify and how to use netlify to host a simple site
. Many people have a website of their own and if you are a developer you may have dozens of them which may include personal projects, websites for clients and open source projects. Having a dedicated page helps segregating and managing projects easier. Netlify provides premium hosting for static sites. Let’s take a look at netlify and how to use netlify to host a simple site ![]()
Signing up
When using connected accounts
To use Netlify, we need to register here, you can either use Github,Gitlab or Bitbucket for signing up which also connects your repositories on the respective platform with netlify, and helps in integrating existing projets with netlify or you can use plain old email and connect accounts later. Sweet, now we ready to go ![]()
. Now if you go to your dashboard, you might see something like this 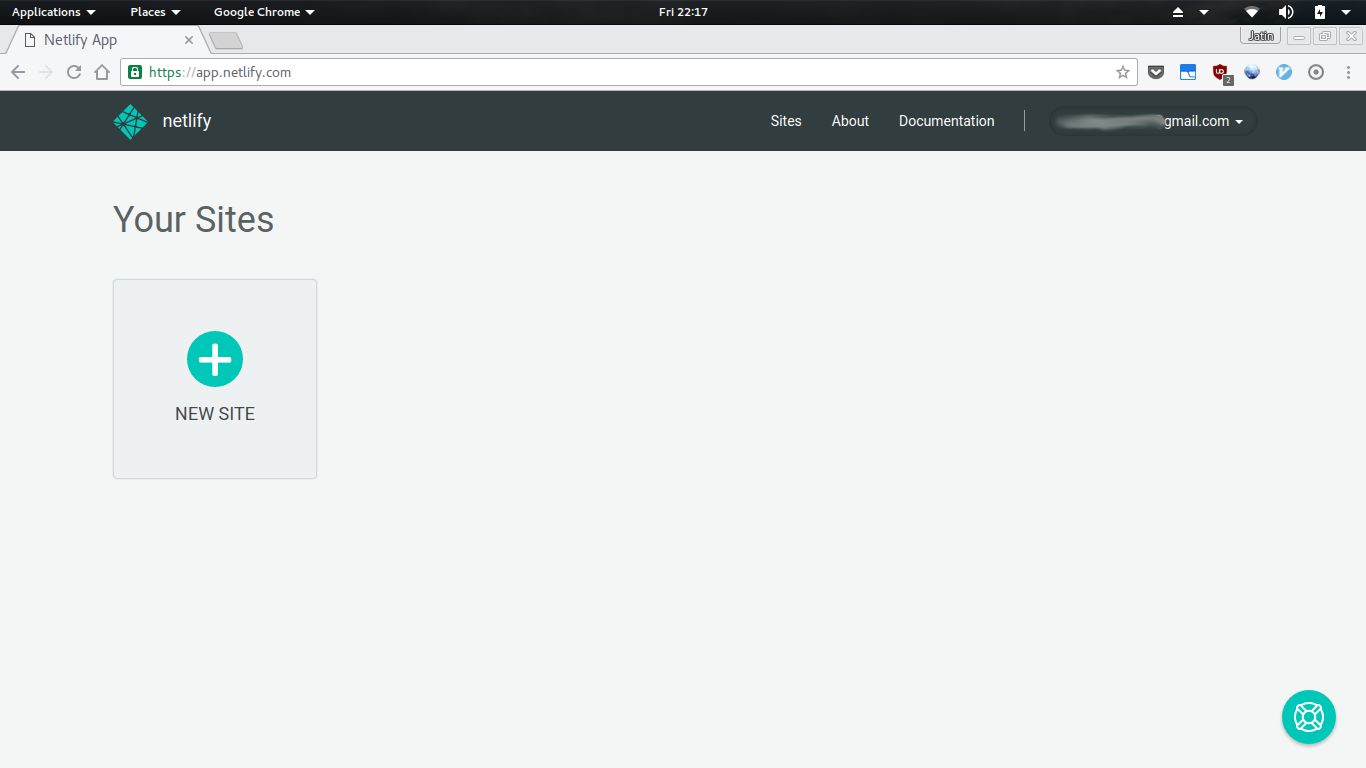 Click on the big plus button saying new site, if you have already connected and account you might see an option to connect existing repositories from the connected platform but we will make a simple site from scratch.
 Select from a list of available options
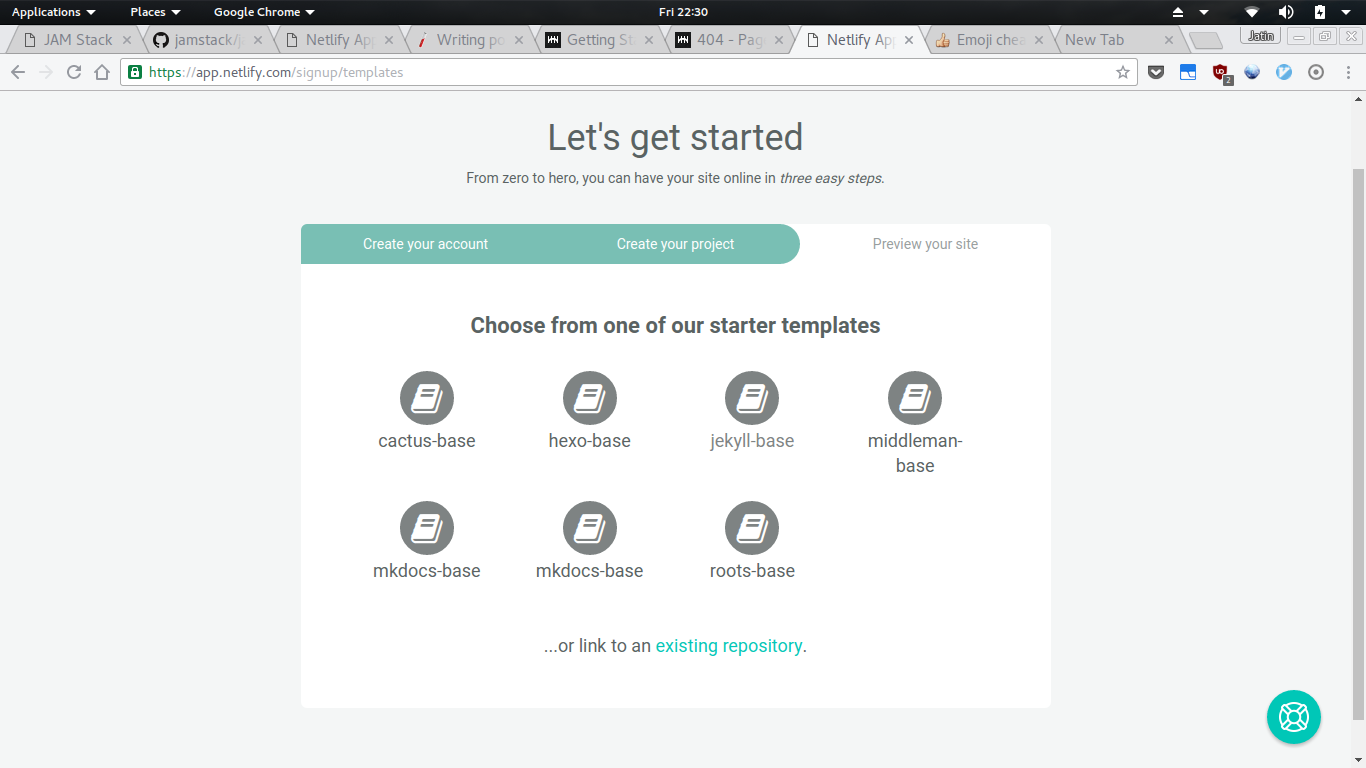
OR
When having no connected accounts
if you have not connected any accounts you might see something like this 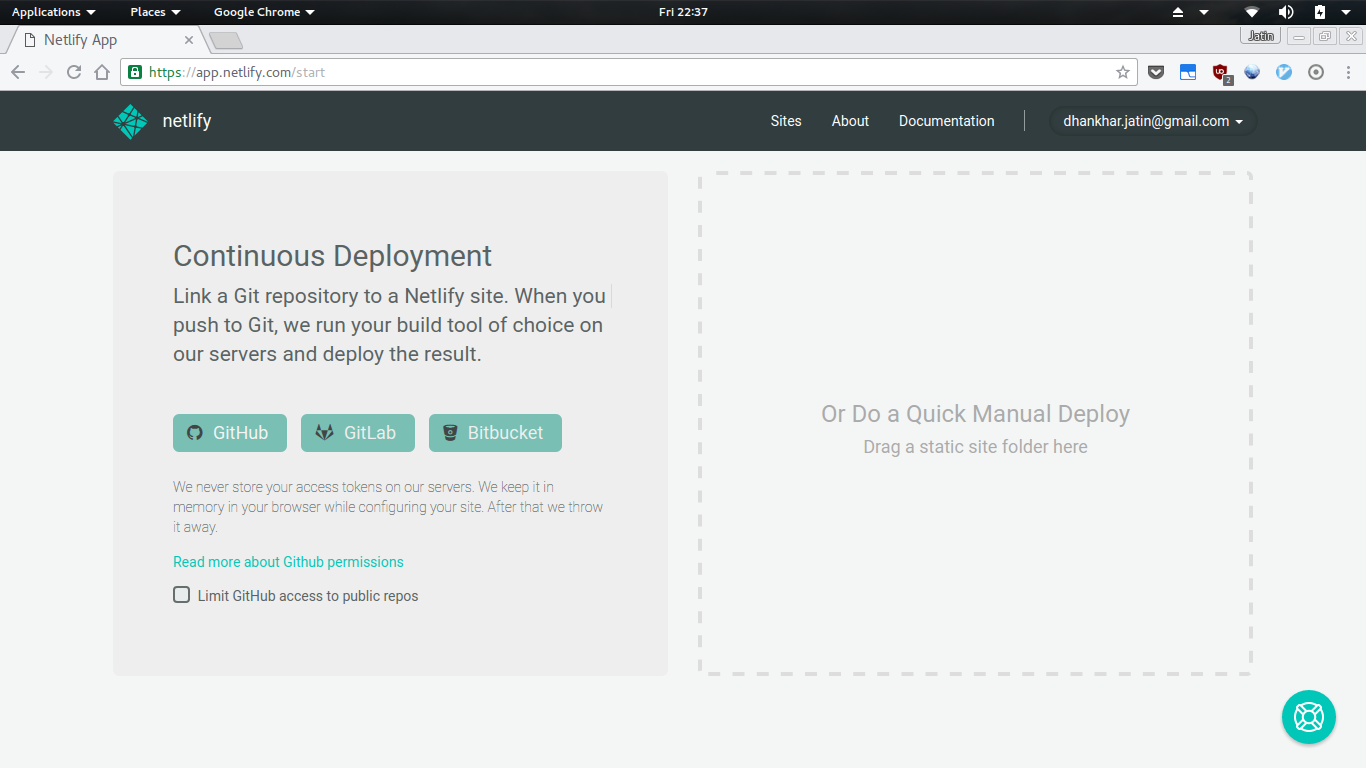 drag your folder containing your static files and your static site is generated for you. You will build logs which will look something like this
  and you can see your by clicking on the random name generated in my case it was MINISTER-AGNES-75364 you can change this name too by clicking on the settings tab below.
Installing client
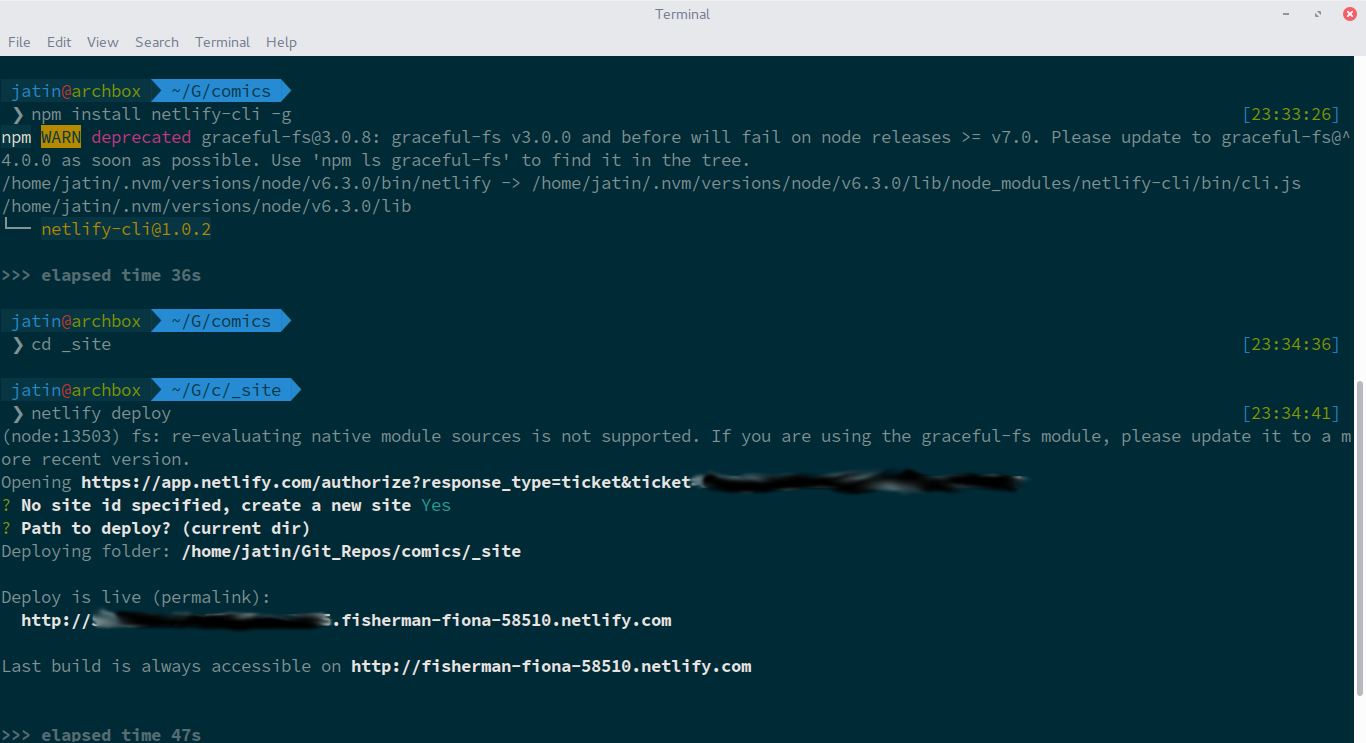
Well it was easy and simple to create websites by clicking on few buttons, but sometimes as a developer it is your birth right to automate everything. Luckily Netlify provies a cli (command line) tool which automates process of creating and updating sites in just few commands. To use command line tool you need to have nodejs installed. You can either install nodejs by following steps from official site or you can use version managing tool like nvm if you are using Linux or Mac, or , nvm-windows,nodist if you are on Windows.
When nodejs is installed correctly, we can proceed to install cli tool by following Netlify Docs, written here for quick reference.
npm install netlify-cli -g # You might need to append Sudo if you are using Linux or Mac and get permission related error
cd ~/my-static-website # Replace with the folder containing your static site
netlify deploy
If you get a warning don’t worry, warnings are okay but errors are not. When you run the last command, netlify will open a browser window, asking for permission to deploy the site, which you can grant it to publish the site, if for some reason, no browser window/tab is created you can copy and paste the link from the terminal to your favourite browser.
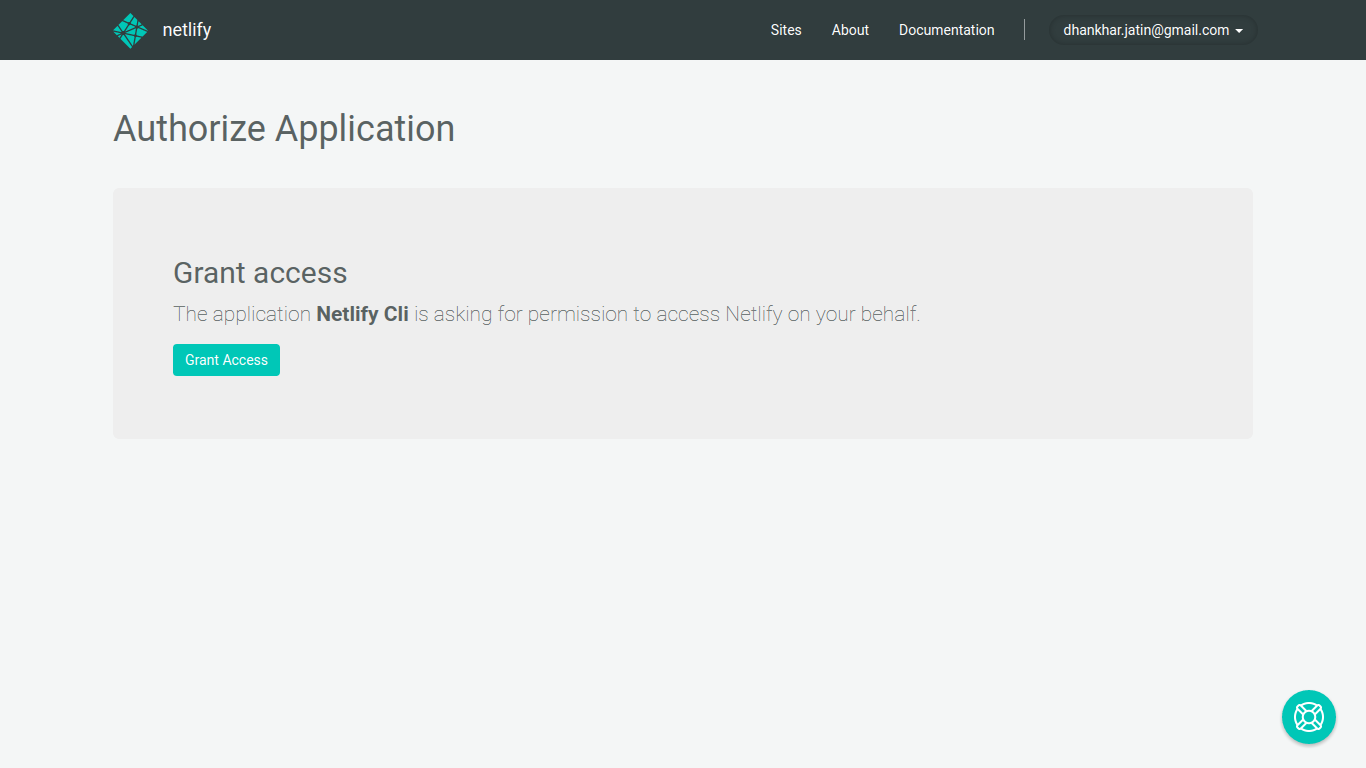 You don’t need to give netlify-cli tool permission every time, it runs.
 When asked for path of the site, either enter full absolute path or hit enter to use present path.
That’s it we have deployed our site. Now we can add features like sub-domain and cool https lock.
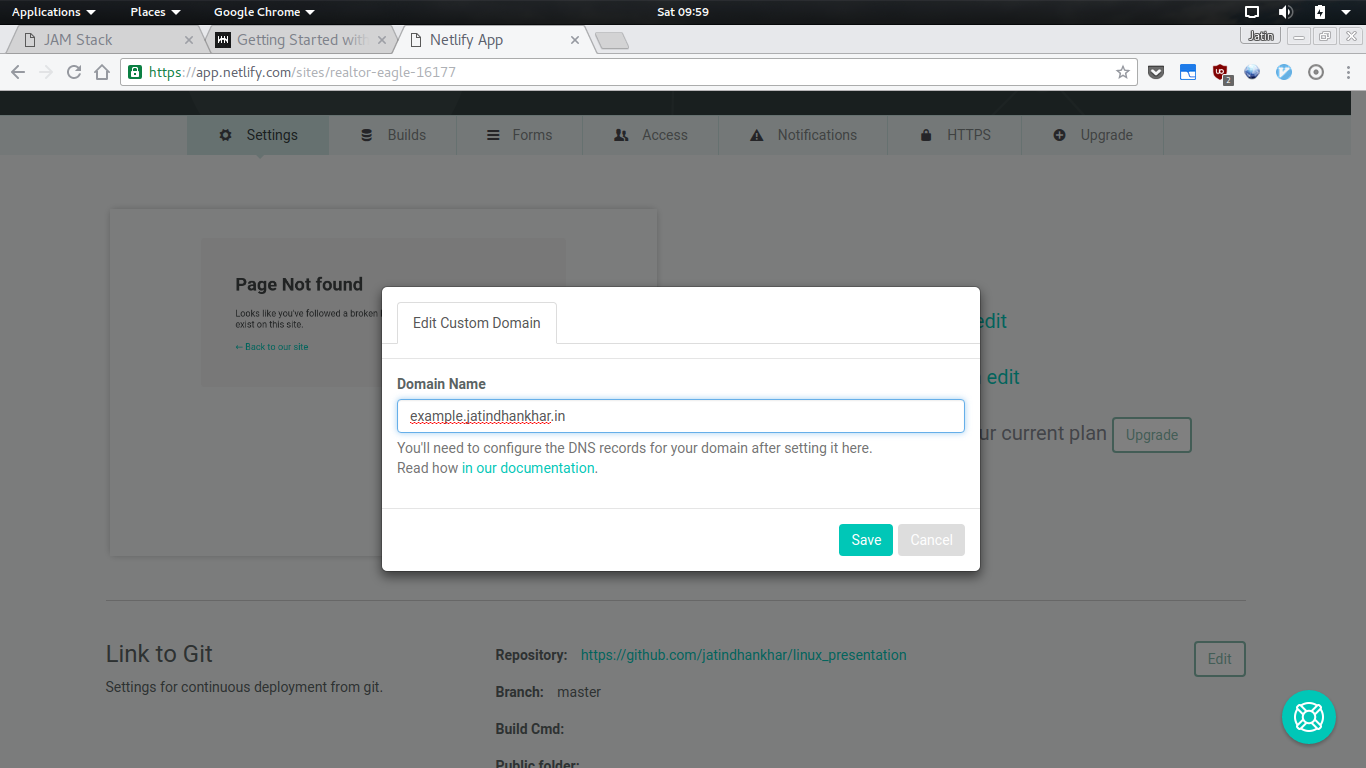
Subdomains
By default, your site gets an autogenerated name like this some-name-number.netlify.com. We can change this to a subdomain of our choice, since this may vary depening upon DNS service provider, it’s best to consult your DNS provider for specifics. On my DNS provider, it looks something like this 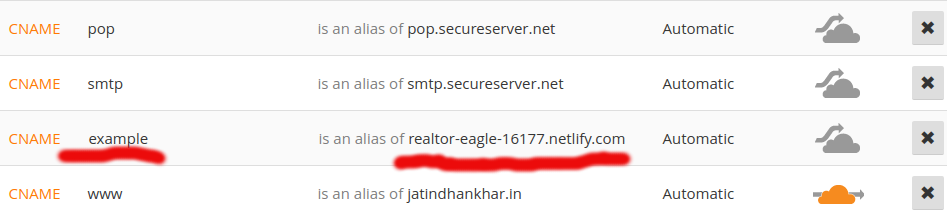
Netlify Docs also have a nice guide. Bottom line is to point your subdomain to the netlify generated doamin. However, on the netlify side,it’s easy, just go to dashboard then settings and click edit on domain.
CNAME yoursubdoamain some-name-number.netlify.comSsl support
To add SSl support, we need to add a custom domain to our site, which we already did in the previous step. To enablethis, in the dashbaord got under the HTTPS tab. Ssl support comes with lots of advantages like SEO boosting, secure connections and even faster loading with the help of HTTP 2.0
.You will see a nice big button saying Let’s encrpyt certificate, which will followed by an prompt to add TLS certificate to the domain.
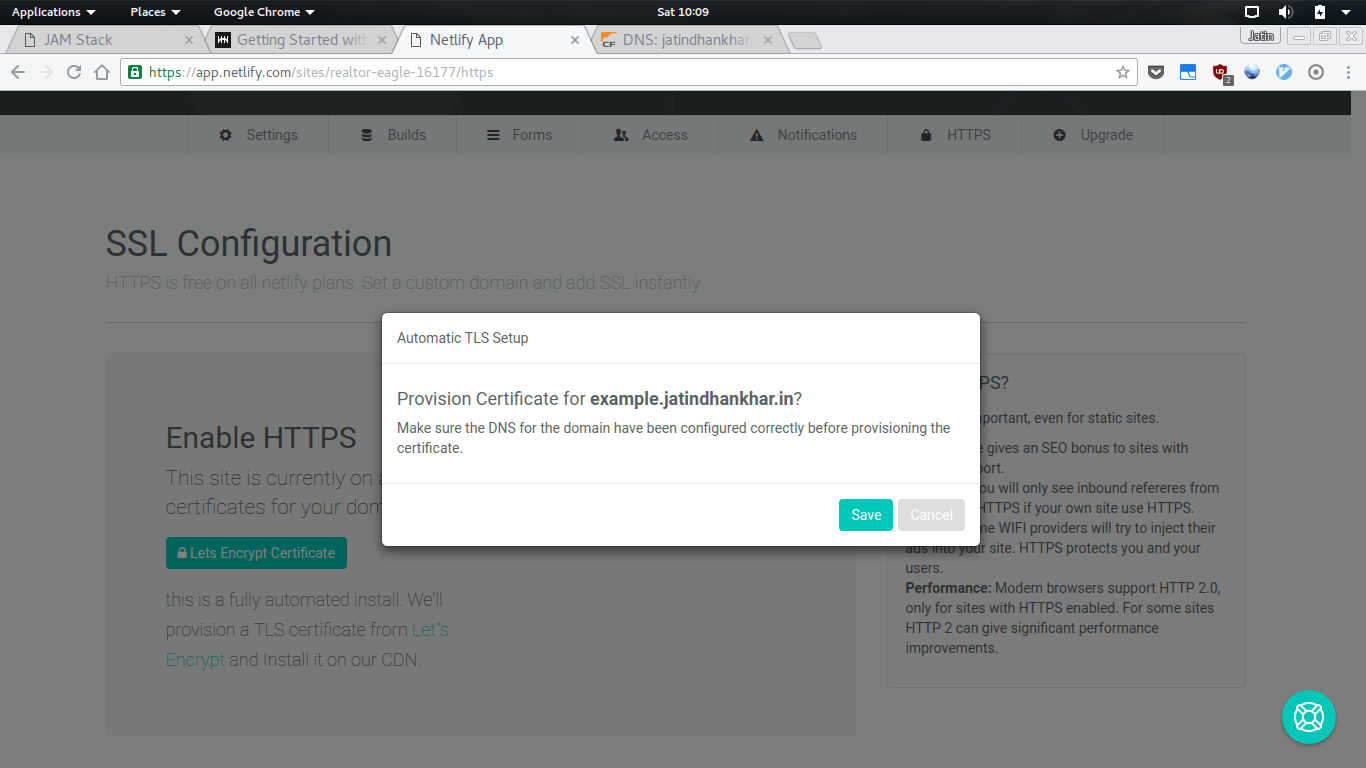 If all goes well you will see something like this. If you see an error that DNS records are not configure properly, either check your DNS configuration or refresh the page
 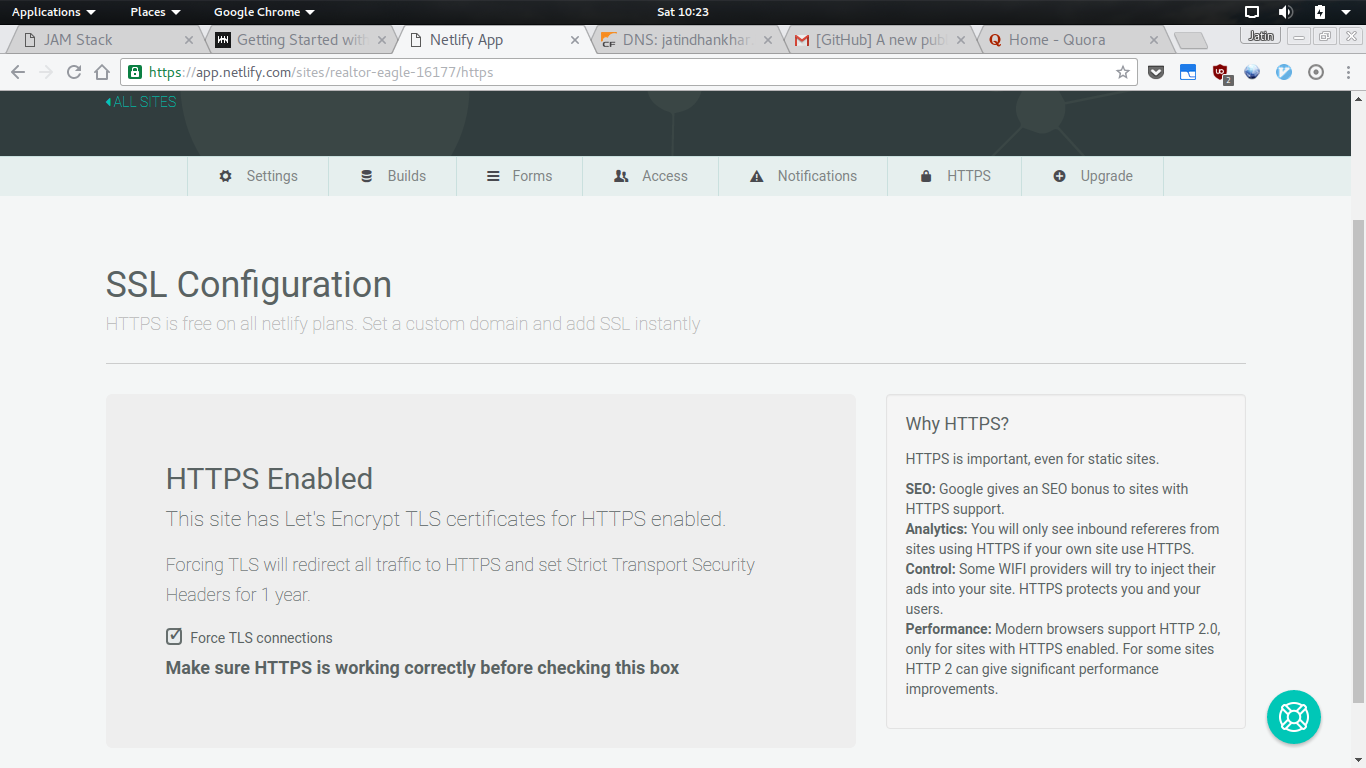 Now we can access our site on both
 http://subdomain.yourdomain.com and https://subdomain.yourdomain.com. To make everyone see our ssl version of the site, we can force it by checking the box saying Force TLS Connections, now every request to http version will be redirected to https version.
Great, now we have a simple,fast and secure website, and netlify made it easy to accomplish this.
Comments